If you're seeing a "Bad Request" error when trying to connect a data source in Looker Studio, it’s likely due to conflicting Google account permissions. This guide will walk you through resolving the issue step-by-step.
Step 1: Identify Your Logged-In Accounts
At the top-right corner of your Chrome browser, check which Google accounts are currently logged in.
In this example, we see two accounts:
One of them is active in Looker Studio, the other in Chrome.
Step 2: Attempt Authorization
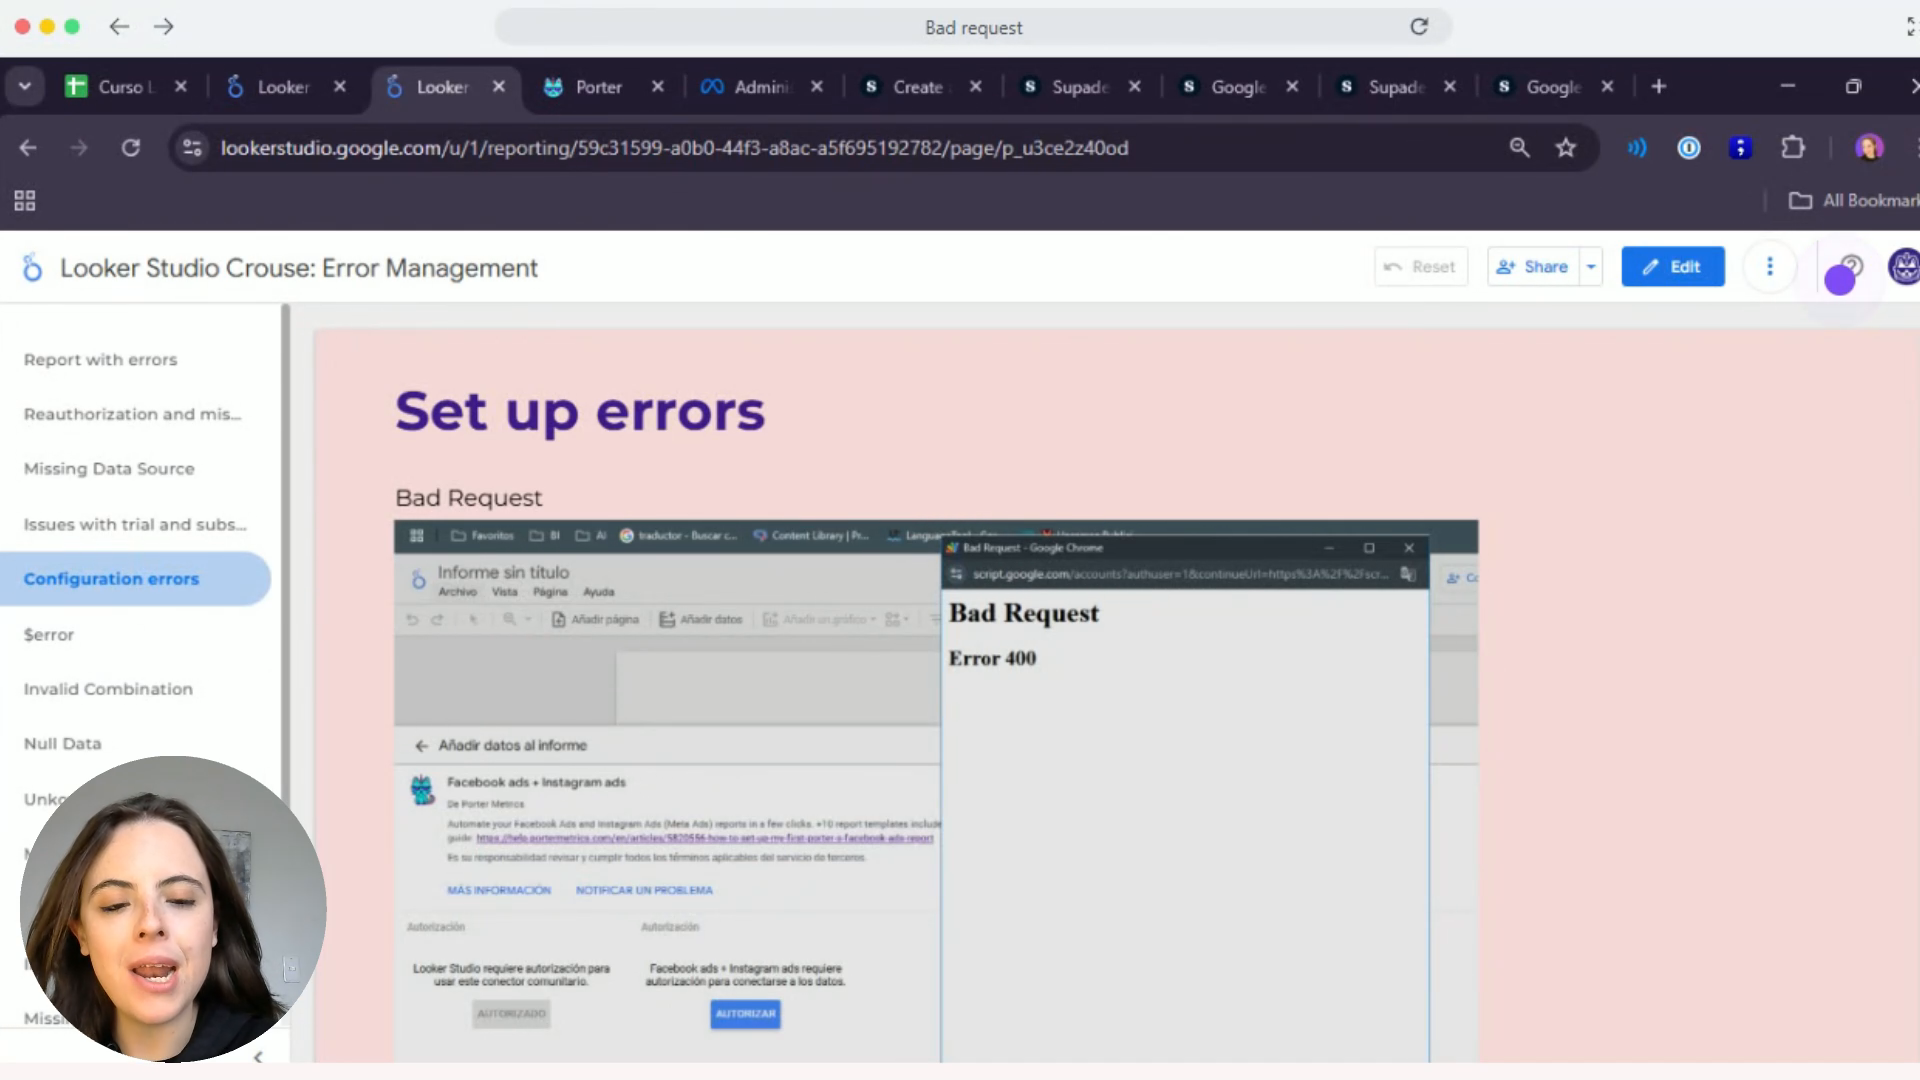
If you try to connect the data source while connected to two different emails and authorize the connection
you’ll likely encounter the Bad Request error.
This happens because Looker Studio is unsure whether to authorize via the account connected to Chrome (Support) or Looker Studio (Manuela).
Step 3: Switch to the Correct Account
To fix the authorization conflict:
Go back to Looker Studio.
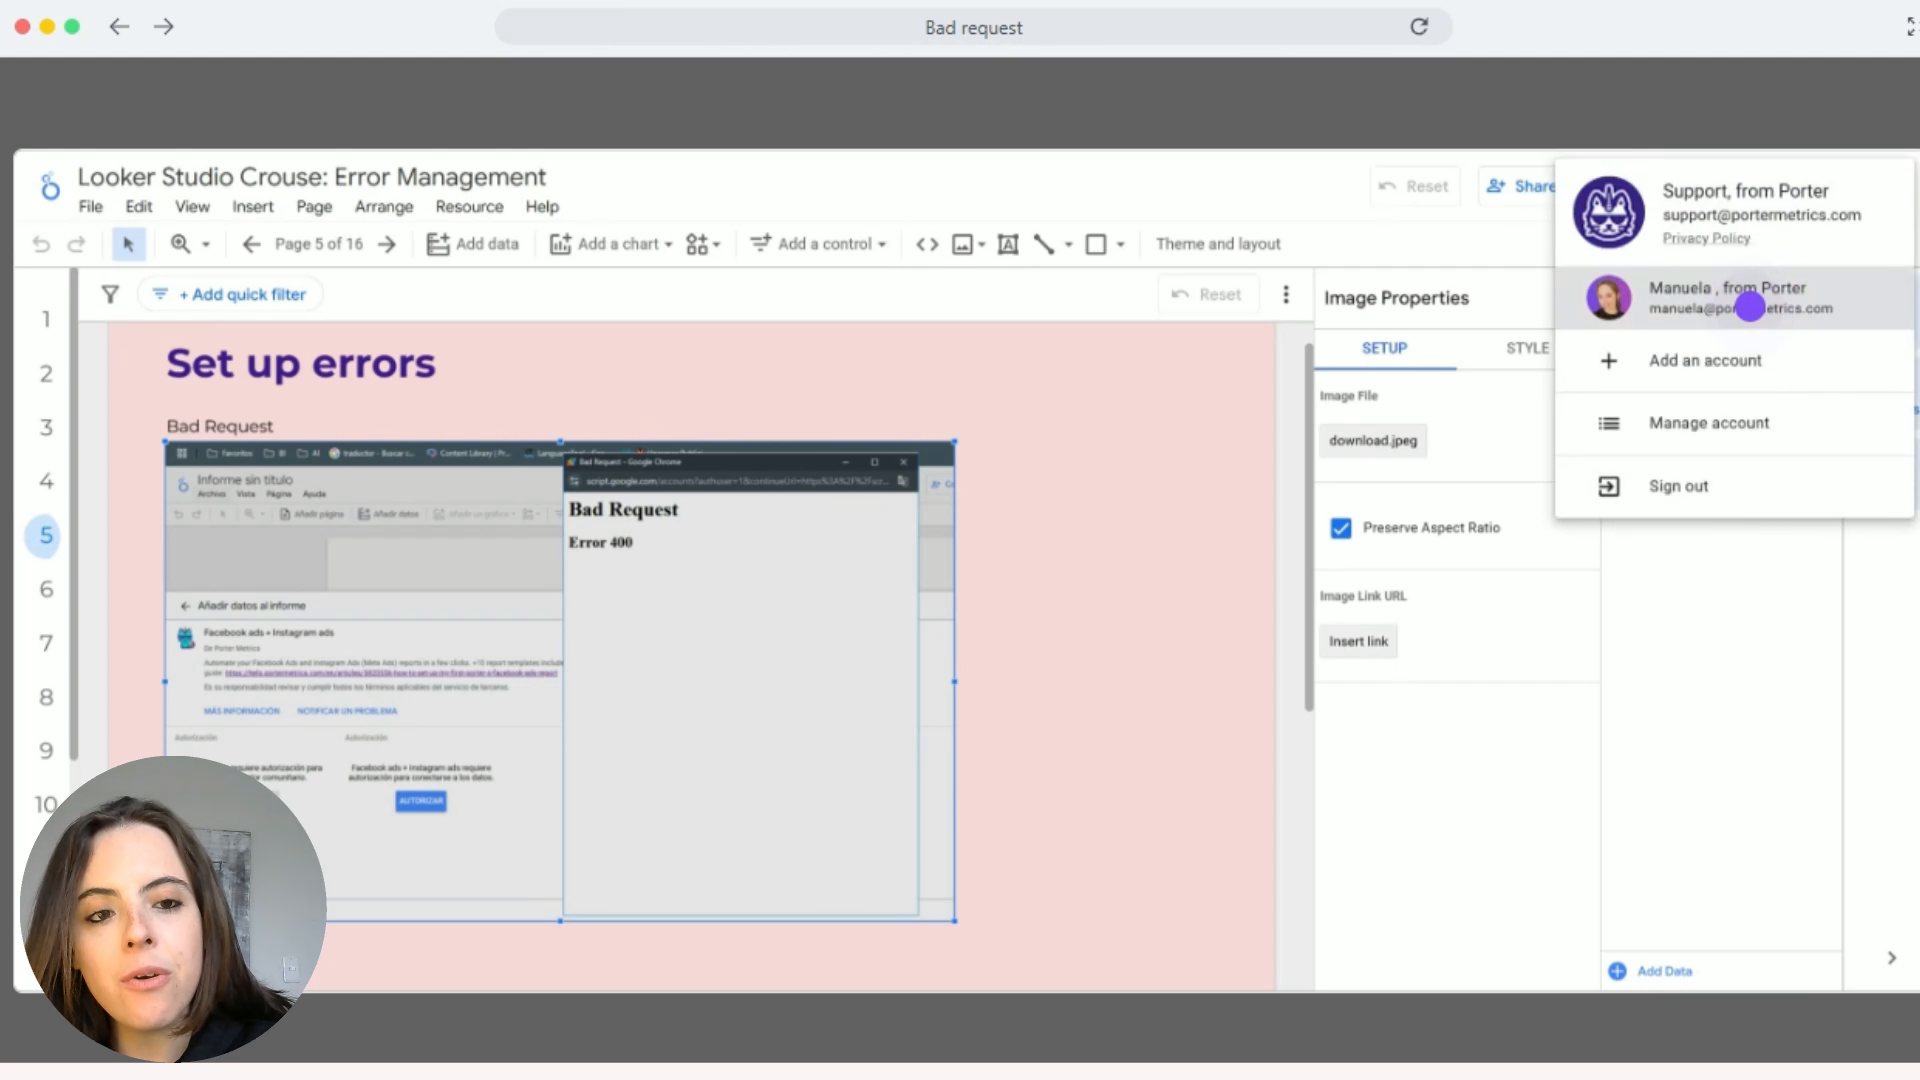
Click on your profile icon (top-right).
Switch to the Google account that matches the one logged into Chrome — in this case, Manuela.
Step 4: Ensure Account Consistency
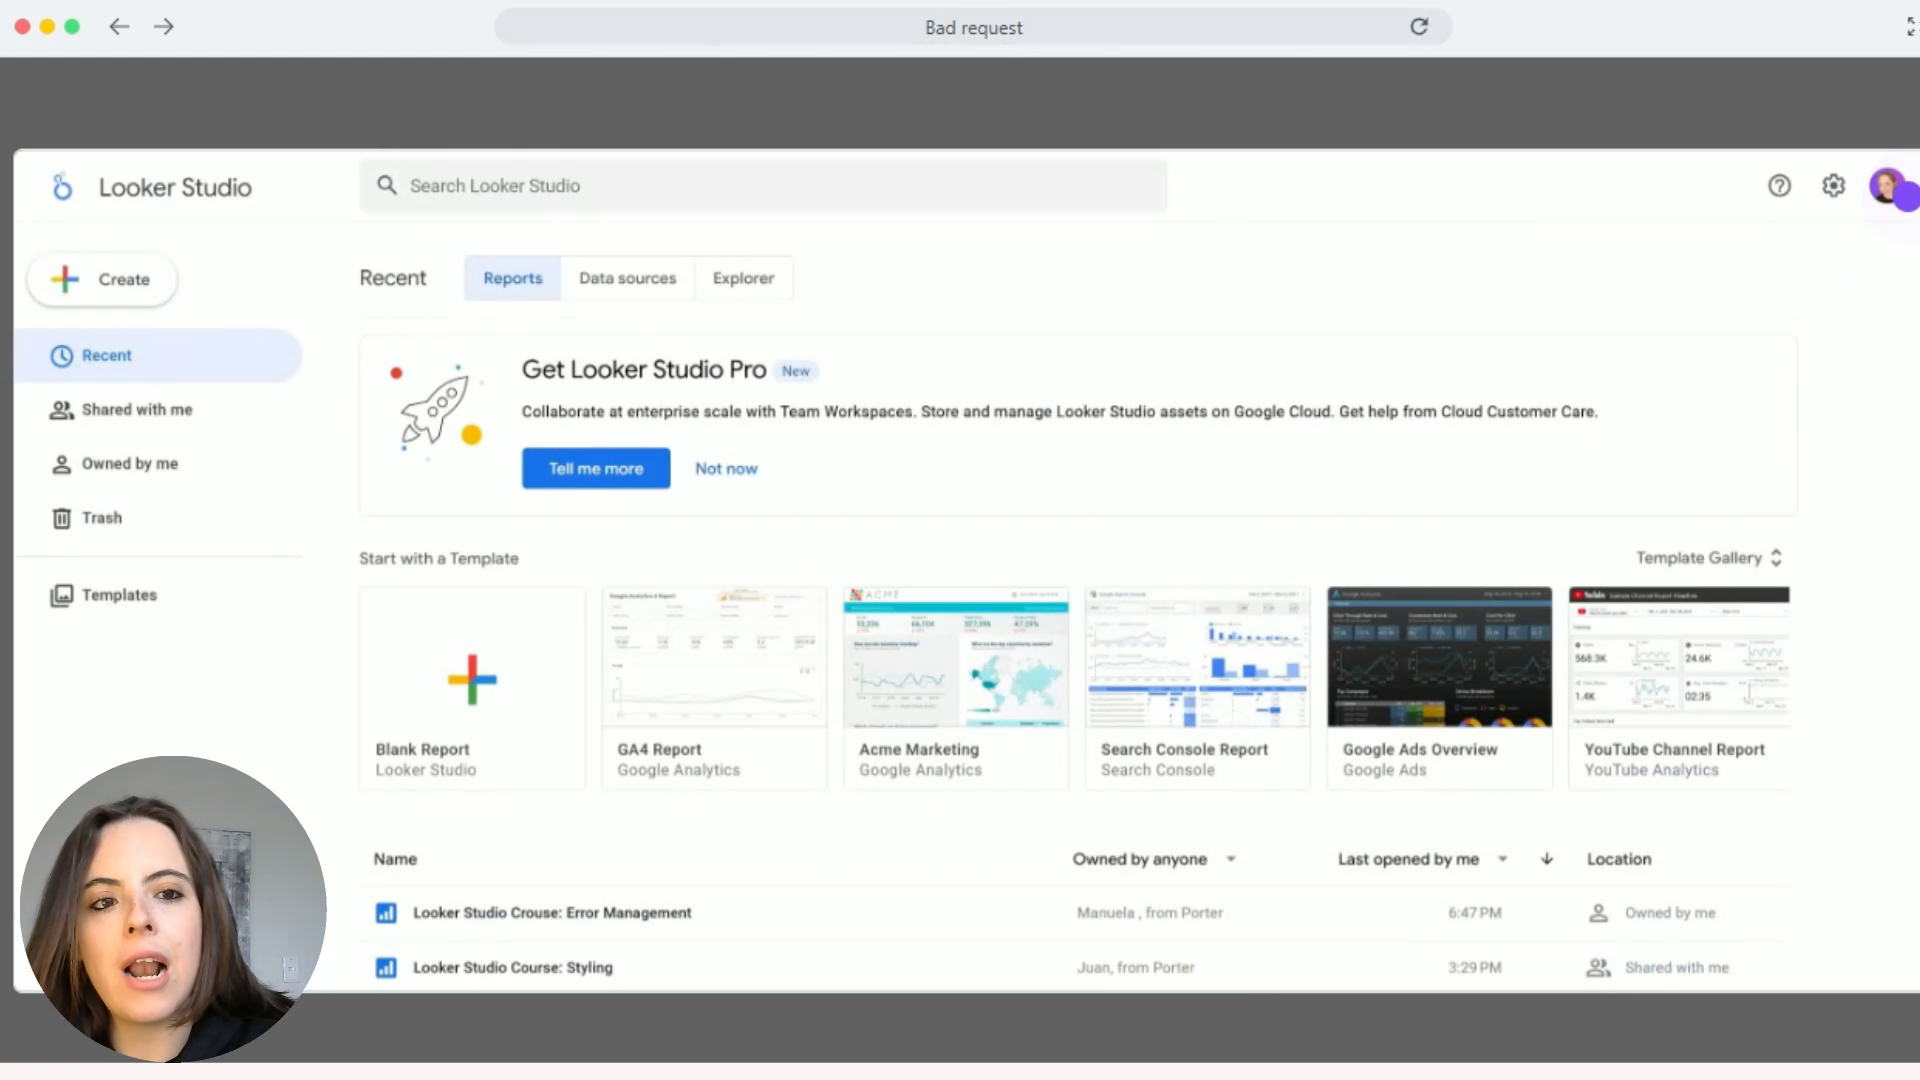
Once switched, double-check that the same account is now active both:
In Chrome
In Looker Studio
This ensures there’s no permission mismatch.
Step 5: Revoke Old Permissions
Before retrying, revoke previous access:
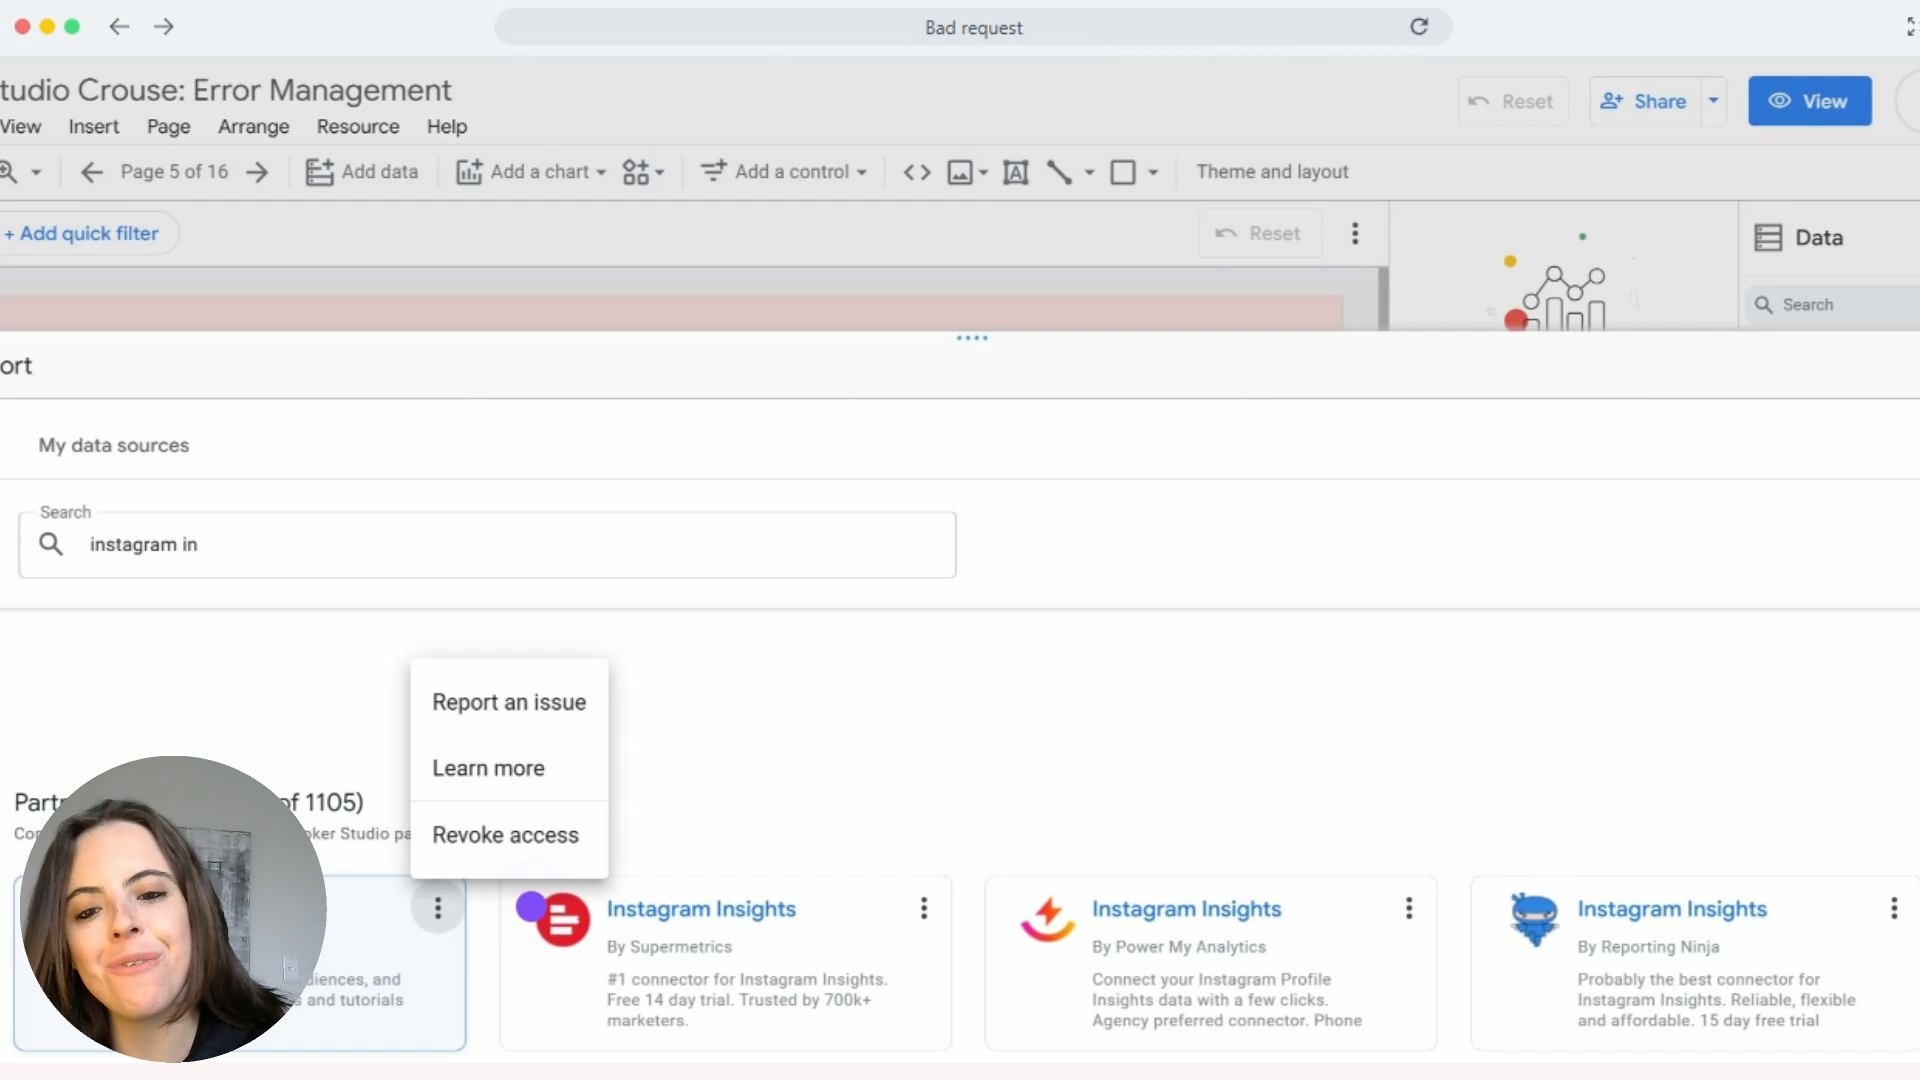
Go to Looker Studio → Resources → Manage added data sources
Click the three dots next to the Instagram Insights connector.
Select “Revoke access” and remove all permissions tied to the wrong email.
Now, try again:
Click Add data
Select Instagram Insights
Click Authorize
Choose the correct account (now aligned across Chrome and Looker Studio)
This time, the authorization should go through without errors.
Select the correct Facebook profile (if prompted).
Grant all requested permissions.
Click “Add to report.”
Insert a table or chart to confirm the data source is working.